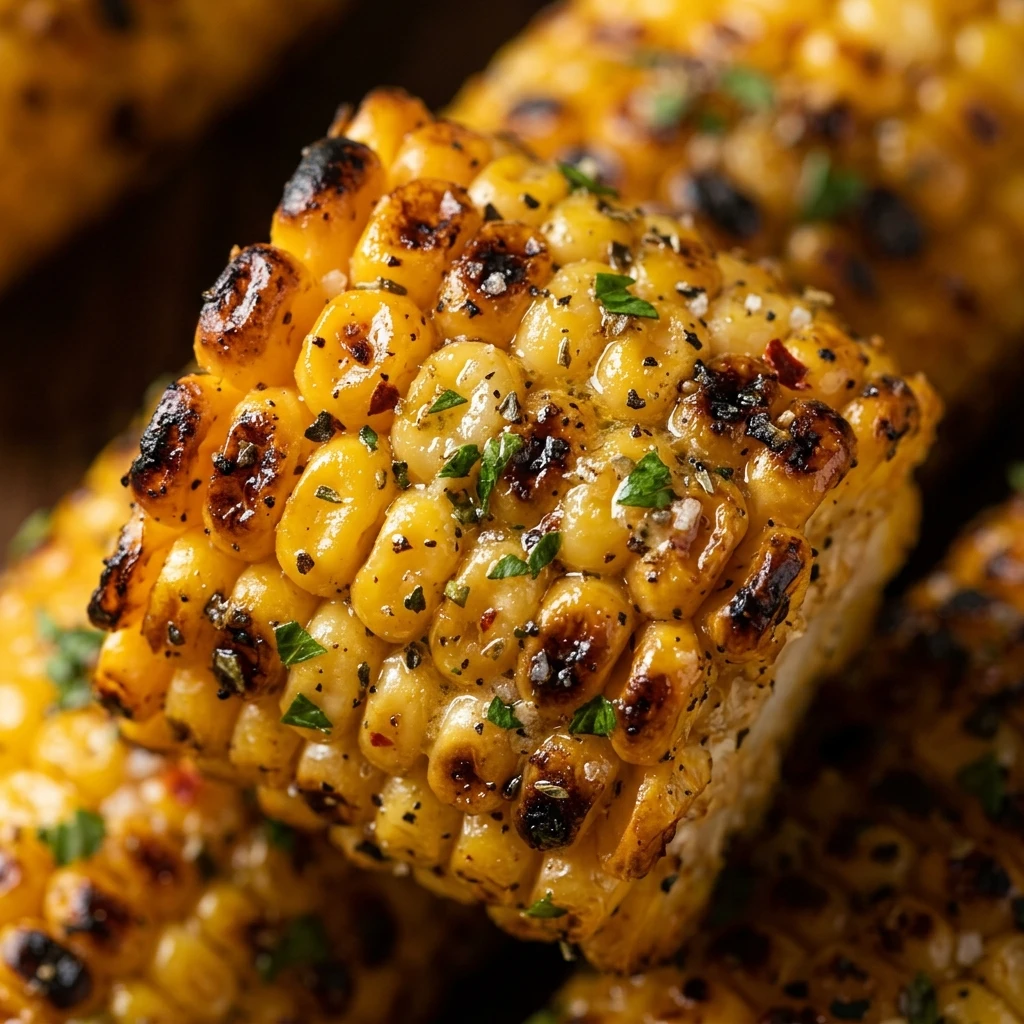

Summer isn’t complete without the smoky, sweet taste of perfectly grilled corn on the cob. Whether you are hosting a backyard BBQ or just looking for a quick weeknight side dish, this recipe is a crowd-pleaser every single time. There is something truly special about the way a hot grill caramelizes the natural sugars in the corn, creating a flavor that you simply cannot get from boiling or steaming.
This method is incredibly straightforward and yields juicy, tender kernels with just the right amount of char. It is the ultimate vegetable side dish that pairs perfectly with everything from burgers and steaks to grilled fish. Once you master this simple technique, you will never want to eat corn any other way.
Recipe Information
- Prep Time: 10 minutes
- Cook Time: 15 minutes
- Total Time: 25 minutes
- Servings: 4
- Difficulty Level: Easy
Nutrition Information
- Calories per serving: 155 kcal
- Protein: 3g
- Carbohydrates: 19g
- Fat: 9g
- Fiber: 2g
- Sugar: 6g
- Sodium: 240mg
Why Make This Grilled Corn On The Cob
Grilling corn on the cob is one of the easiest ways to elevate a simple ingredient into something gourmet. The direct heat of the grill creates a depth of flavor that is both sweet and savory. It also saves you from heating up your kitchen with a big pot of boiling water, making it the perfect solution for hot summer days.
This recipe is also highly customizable. While it tastes amazing with just butter and salt, it serves as a blank canvas for all sorts of spices, cheeses, and herbs. Plus, it is naturally gluten-free and can easily be made vegan by swapping out the butter for a plant-based alternative.
How to Make Grilled Corn On The Cob
Making the perfect grilled corn is all about heat management and a little bit of seasoning. Follow these simple steps to get that iconic charred look and sweet, juicy bite.
Ingredients
- 4 fresh ears of corn, husks and silk removed
- 4 tablespoons unsalted butter, softened or melted
- 1 teaspoon kosher salt
- 1/2 teaspoon freshly cracked black pepper
- Optional: 1/4 teaspoon smoked paprika or chili powder
- Optional: Fresh parsley or cilantro for garnish
Directions
Step 1: Prepare the Corn
Start by shucking the corn. Remove the outer husks and pull away all the fine silk threads. You can rinse the corn under cold water to help remove any stubborn silk, then pat the ears completely dry with a paper towel.
Step 2: Preheat the Grill
Preheat your outdoor grill to medium-high heat, roughly 400°F (200°C). Make sure the grill grates are clean. You can lightly oil the grates using a folded paper towel dipped in vegetable oil to ensure the corn doesn’t stick.
Step 3: Season and Coat
Brush each ear of corn generously with the softened or melted butter. Ensure every side is coated. Sprinkle the salt, pepper, and any optional spices like paprika evenly over the corn.
Step 4: Grill the Corn
Place the corn ears directly onto the hot grill grates. Close the lid and cook for about 10 to 15 minutes. Use tongs to turn the corn every 2 to 3 minutes so that it cooks evenly and develops a beautiful golden-brown char on all sides.
Step 5: Garnish and Serve
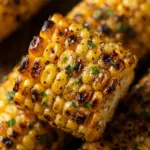
Once the kernels are tender and slightly charred, remove the corn from the grill. Place them on a platter and brush with any remaining butter. Garnish with fresh herbs if desired and serve while hot.
How to Serve Grilled Corn On The Cob
Grilled corn is best served immediately while the butter is still melty and the kernels are plump. It is a classic accompaniment to BBQ ribs, grilled chicken, or burgers. If you want to serve it “off the cob,” you can use a sharp knife to slice the charred kernels into a bowl to make a delicious grilled corn salad or “esquites.”
How to Store Grilled Corn On The Cob
If you have leftovers, wrap the cooled corn tightly in aluminum foil or place it in an airtight container. It will stay fresh in the refrigerator for up to 3 to 4 days. To reheat, you can place it back on the grill for a few minutes, warm it in the oven at 350°F, or use the microwave for 30-60 seconds.
Expert Tips for Perfect Grilled Corn On The Cob
For the best results, always look for corn with bright green, tight husks and slightly tacky silk; this indicates the corn is fresh and sweet. Don’t be afraid of the char! Those little black spots provide the smoky flavor that makes grilled corn so unique. If you prefer a more steamed texture, you can grill the corn with the husks still on, but you won’t get as much of that delicious charred flavor.
Delicious Variations
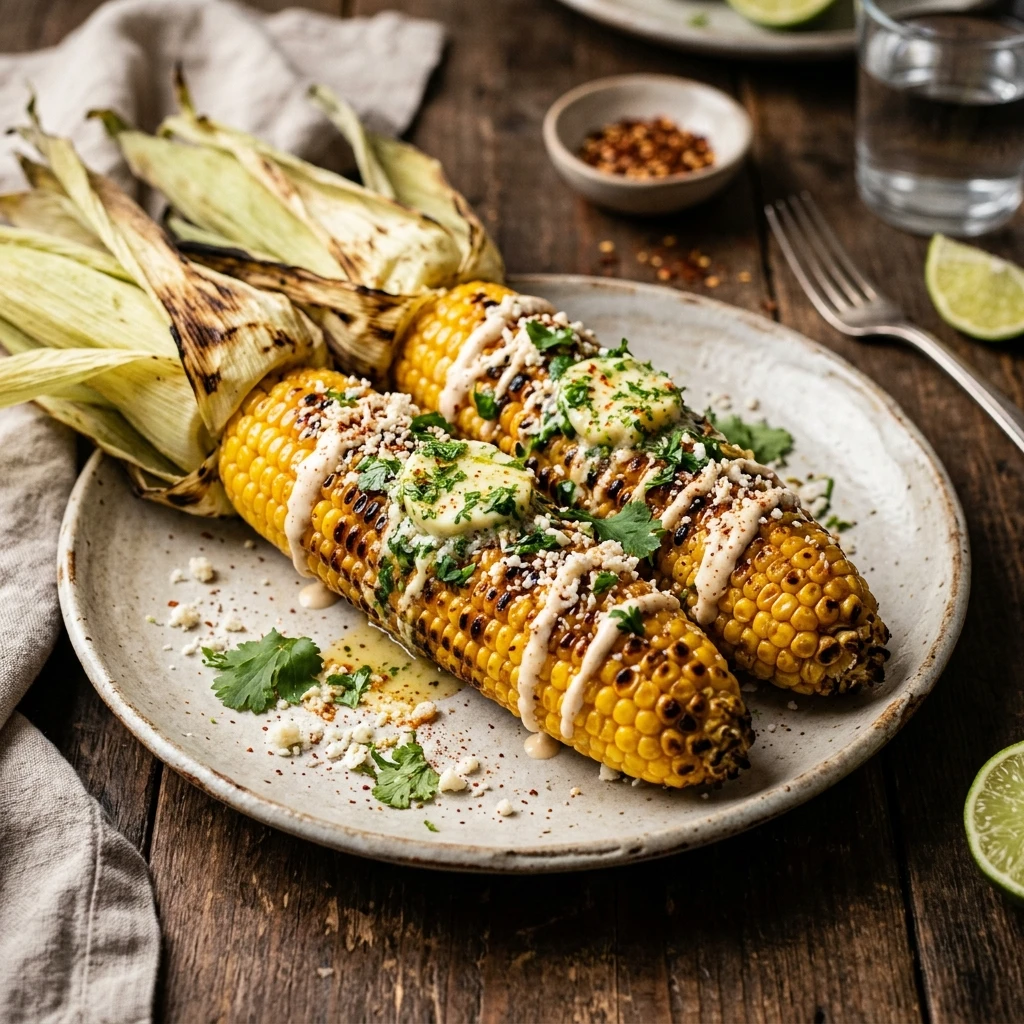
Try making “Mexican Street Corn” (Elote) by brushing your grilled corn with a mix of mayonnaise, sour cream, and lime juice, then topping it with cotija cheese and chili powder. For a savory twist, use garlic butter and grated parmesan cheese. If you like heat, a sprinkle of cayenne pepper or a drizzle of sriracha-honey butter can take this dish to the next level.
Frequently Asked Questions
Q: Should I soak the corn before grilling?
If you are grilling the corn directly on the grates without husks, there is no need to soak it. Soaking is only necessary if you are grilling the corn inside the husks to prevent them from catching fire.
Q: Can I use frozen corn on the cob?
Yes, you can grill frozen corn, but make sure to thaw it completely and pat it dry first so the butter and seasonings stick properly.
Q: How do I know when the corn is done?
The kernels will turn a deeper, more vibrant yellow and become tender when pierced with a fork. You should also see distinct charred spots across the ear.
Q: Can I grill corn on a gas grill or charcoal grill?
Both work great! A charcoal grill will add a bit more smoky flavor, while a gas grill offers more precise temperature control.
Q: Is it better to grill corn in foil?
Grilling in foil keeps the corn very juicy and prevents charring. If you want the smoky, charred flavor, grill it directly on the grates. If you want it more “steamed,” use foil.
Conclusion
Grilled corn on the cob is a simple, healthy, and incredibly tasty addition to any meal. With just a few ingredients and about 15 minutes on the grill, you can transform a basic vegetable into the star of your dinner plate. Grab some fresh ears of corn this weekend and give this easy recipe a try—your family and friends will definitely thank you!
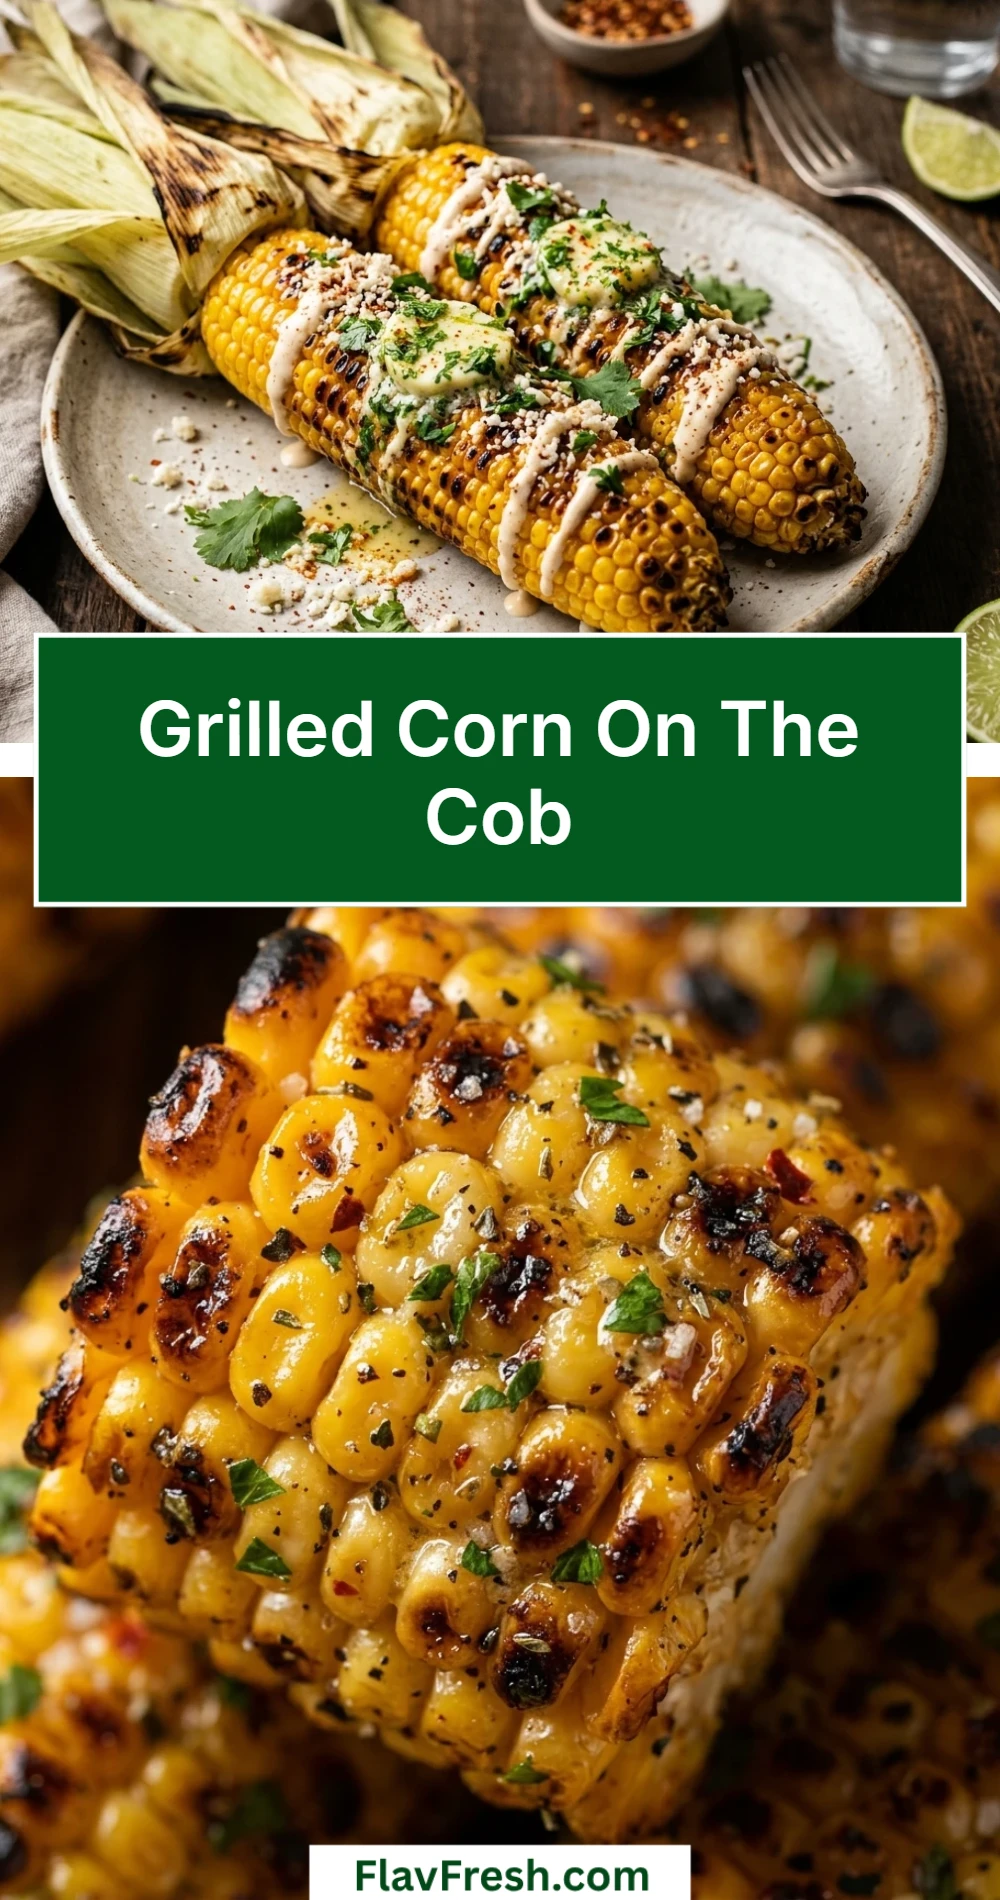
Grilled Corn On The Cob
- Cook Time: 25 minutes
- Total Time: 25 minutes
- Diet: Vegetarian, Gluten-Free
Ingredients
- 4 fresh ears of corn, husks and silk removed
- 4 tablespoons unsalted butter, softened or melted
- 1 teaspoon kosher salt
- 1/2 teaspoon freshly cracked black pepper
- Optional: 1/4 teaspoon smoked paprika or chili powder
- Optional: Fresh parsley or cilantro for garnish
Instructions
- Start by shucking the corn. Remove the outer husks and pull away all the fine silk threads. You can rinse the corn under cold water to help remove any stubborn silk, then pat the ears completely dry with a paper towel.
- Preheat your outdoor grill to medium-high heat, roughly 400°F (200°C). Make sure the grill grates are clean. You can lightly oil the grates using a folded paper towel dipped in vegetable oil to ensure the corn doesn’t stick.
- Brush each ear of corn generously with the softened or melted butter. Ensure every side is coated. Sprinkle the salt, pepper, and any optional spices like paprika evenly over the corn.
- Place the corn ears directly onto the hot grill grates. Close the lid and cook for about 10 to 15 minutes. Use tongs to turn the corn every 2 to 3 minutes so that it cooks evenly and develops a beautiful golden-brown char on all sides.
- Once the kernels are tender and slightly charred, remove the corn from the grill. Place them on a platter and brush with any remaining butter. Garnish with fresh herbs if desired and serve while hot.