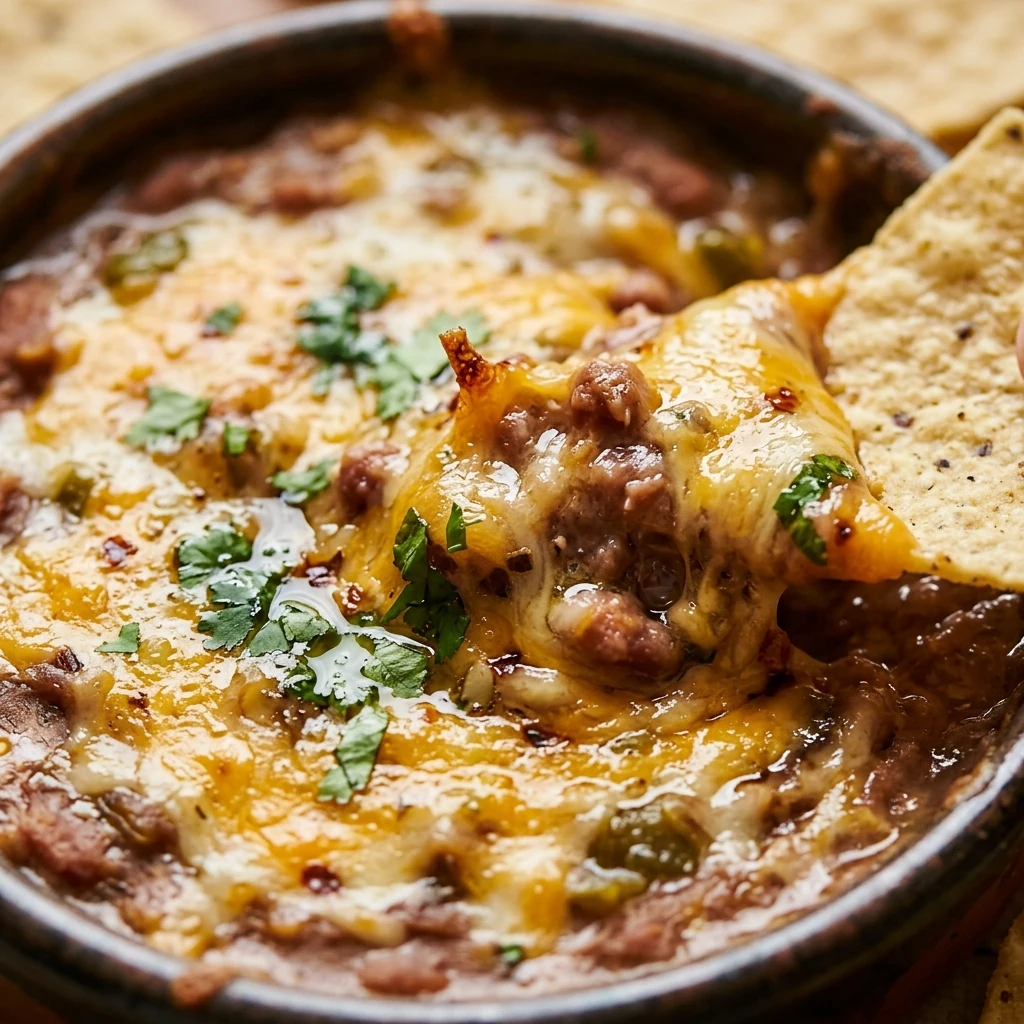
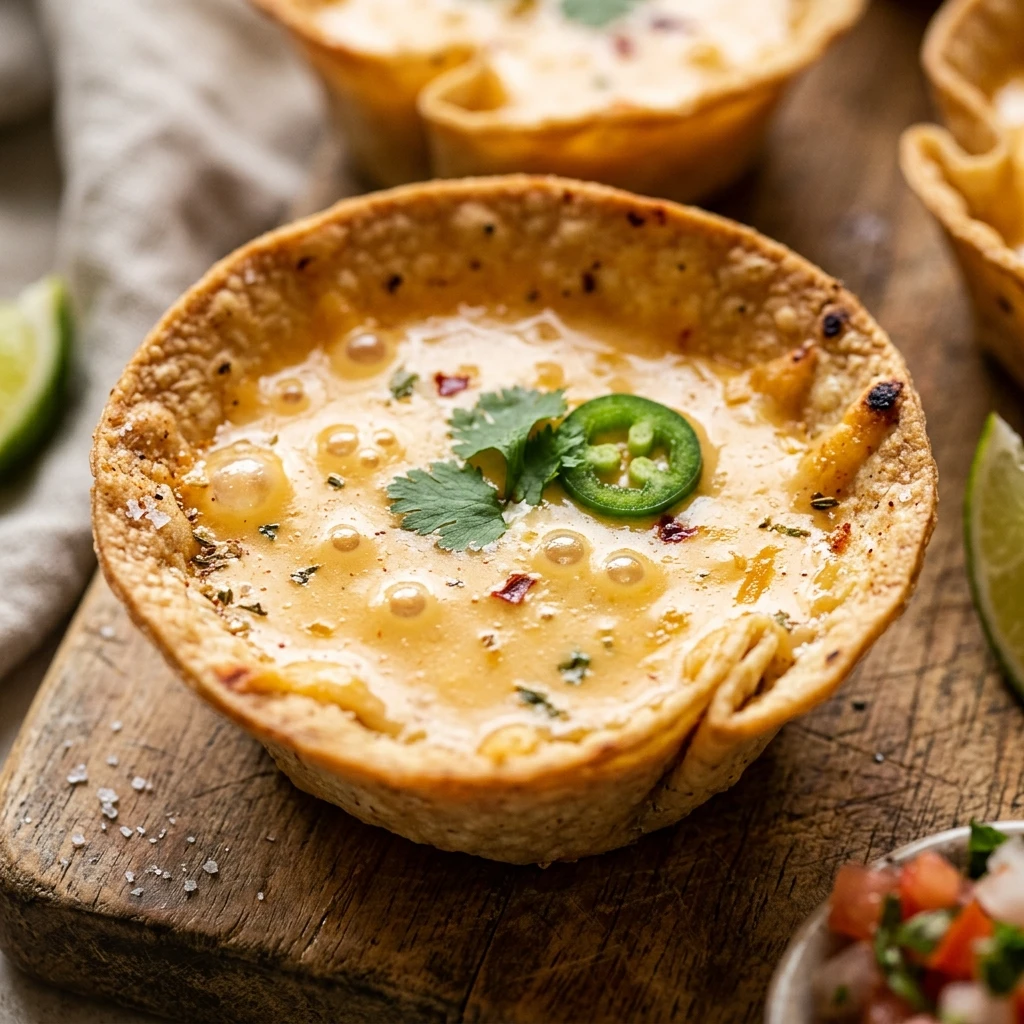

Who doesn’t love the bold, zesty flavors of nachos? These Nacho Cheese Cups take everything you love about the classic snack and turn it into a mess-free, bite-sized appetizer. Perfect for game day, birthday parties, or a fun weeknight treat, these crispy cups are guaranteed to be a crowd-pleaser.
By using wonton wrappers as the base, you get a satisfying crunch without the grease of traditional chips. They are easy to assemble, quick to bake, and incredibly fun to eat. Let’s dive into how you can make these cheesy delights in your own kitchen.
Recipe Information
- Prep Time: 15 minutes
- Cook Time: 15 minutes
- Total Time: 30 minutes
- Servings: 12 cups
- Difficulty Level: Easy
Nutrition Information
- Calories per serving: 185 kcal
- Protein: 10g
- Carbohydrates: 12g
- Fat: 11g
- Fiber: 1g
- Sugar: 1g
- Sodium: 480mg
Why Make This Nacho Cheese Cups
These cups are the ultimate party hack. Unlike a big plate of nachos where the bottom chips often get soggy, every single one of these cups stays perfectly crisp. They provide the ideal ratio of topping to “chip” in every single bite.
Another reason to love this recipe is how portable it is. You can serve them on a platter, and guests can easily grab one and walk around without needing a fork or a pile of napkins. They are also very kid-friendly and easy to customize for picky eaters.
How to Make Nacho Cheese Cups
Making these snacks is a simple process that involves prepping a muffin tin, browning some seasoned meat, and layering your favorite nacho ingredients into crispy wonton shells.
Ingredients
- 24 wonton wrappers
- 1 lb lean ground beef or ground turkey
- 1 packet (1 oz) taco seasoning
- 1/4 cup water
- 1 cup shredded cheddar cheese
- 1/2 cup nacho cheese sauce (warmed)
- 1/4 cup pickled jalapeños (optional)
- 1/2 cup sour cream
- 2 tablespoons chopped green onions
- 1/4 cup diced tomatoes
Directions
Step 1: Preheat and Prep
Preheat your oven to 375°F (190°C). Lightly grease a standard 12-cup muffin tin with non-stick cooking spray to ensure the cups pop out easily after baking.
Step 2: Brown the Meat
In a large skillet over medium-high heat, brown the ground beef until it is no longer pink. Drain any excess grease. Stir in the taco seasoning and water, then simmer for about 3-5 minutes until the liquid has thickened.
Step 3: Shape the Wonton Shells
Place two wonton wrappers into each muffin cup, staggering the corners so they form a star shape. Gently press them against the bottom and sides to create a cup shape.
Step 4: Initial Bake
Place the empty wonton shells in the oven for 5 minutes. This “blind baking” step ensures the bottoms stay crunchy and don’t get soggy once the meat is added.
Step 5: Fill the Cups
Remove the tin from the oven. Evenly distribute the seasoned meat into the cups. Top each cup with a generous sprinkle of shredded cheddar cheese.
Step 6: Final Bake
Return the muffin tin to the oven and bake for another 5-8 minutes, or until the cheese is melted and the edges of the wonton wrappers are golden brown and crispy.
Step 7: Add Toppings
Once baked, remove the cups from the tin. Drizzle a spoonful of warm nacho cheese sauce over each cup. Garnish with a dollop of sour cream, diced tomatoes, green onions, and a jalapeño slice if you like a bit of heat.
How to Serve Nacho Cheese Cups
Serve these cups warm on a large wooden board or a colorful platter. They pair perfectly with a side of homemade guacamole or a fresh salsa verde. If you are serving a large crowd, you can set up a “topping bar” where guests can add their own extra cilantro, black olives, or hot sauce.
How to Store Nacho Cheese Cups
While these are best enjoyed fresh, you can store leftovers in an airtight container in the refrigerator for up to 3 days. To regain the crunch, reheat them in a 350°F oven or an air fryer for 3-5 minutes. Avoid using the microwave, as it will make the wonton wrappers soft and chewy.
Expert Tips for Perfect Nacho Cheese Cups
For the crispiest results, use two wonton wrappers per cup. This adds structural integrity and extra crunch. Also, make sure to drain your meat thoroughly; any excess oil will pool at the bottom and soften the wrapper. If you want a more “authentic” nacho flavor, look for a high-quality canned nacho cheese sauce or make a simple stovetop roux with sharp cheddar.

Delicious Variations
You can easily swap the ground beef for shredded rotisserie chicken or black beans for a vegetarian version. For a “Supreme” version, add a layer of refried beans at the bottom of the wonton before adding the meat. You can also experiment with different cheeses like Pepper Jack for a spicy kick or Mozzarella for a better cheese pull.
Frequently Asked Questions
Q: Can I use tortilla shells instead of wonton wrappers?
Yes, you can use a small cookie cutter to cut circles out of flour tortillas. Press them into the muffin tin similarly, though they may need a minute or two longer to get crispy.
Q: Can I make these ahead of time?
You can brown the meat and chop the toppings ahead of time. However, I recommend assembling and baking them just before serving to ensure the shells stay perfectly crunchy.
Q: Are these spicy?
The spice level depends on your taco seasoning and whether you add jalapeños. You can keep them mild by using a “mild” seasoning packet and skipping the peppers.
Q: Where do I find wonton wrappers in the grocery store?
They are usually located in the refrigerated produce section, often near the tofu or the pre-packaged salad dressings.
Q: Can I freeze nacho cheese cups?
It is not recommended to freeze the fully assembled cups as the wrappers will lose their texture. You can, however, freeze the cooked taco meat separately.
Conclusion
Nacho Cheese Cups are a fantastic way to bring the excitement of Mexican-inspired flavors to your next gathering. They are crunchy, cheesy, and incredibly easy to customize. Whether you’re hosting a party or just looking for a fun new snack for the kids, these little cups are sure to be a massive hit. Enjoy your crispy, cheesy creation!

Nacho Cheese Cups

- Cook Time: 30 minutes
- Total Time: 30 minutes
- Diet: Vegetarian
Ingredients
- 24 wonton wrappers
- 1 lb lean ground beef or ground turkey
- 1 packet (1 oz) taco seasoning
- 1/4 cup water
- 1 cup shredded cheddar cheese
- 1/2 cup nacho cheese sauce (warmed)
- 1/4 cup pickled jalapeños (optional)
- 1/2 cup sour cream
- 2 tablespoons chopped green onions
- 1/4 cup diced tomatoes
Instructions
- Step 1: Preheat and Prep: Preheat your oven to 375°F (190°C). Lightly grease a standard 12-cup muffin tin with non-stick cooking spray to ensure the cups pop out easily after baking.
- Step 2: Brown the Meat: In a large skillet over medium-high heat, brown the ground beef until it is no longer pink. Drain any excess grease. Stir in the taco seasoning and water, then simmer for about 3-5 minutes until the liquid has thickened.
- Step 3: Shape the Wonton Shells: Place two wonton wrappers into each muffin cup, staggering the corners so they form a star shape. Gently press them against the bottom and sides to create a cup shape.
- Step 4: Initial Bake: Place the empty wonton shells in the oven for 5 minutes. This “blind baking” step ensures the bottoms stay crunchy and don’t get soggy once the meat is added.
- Step 5: Fill the Cups: Remove the tin from the oven. Evenly distribute the seasoned meat into the cups. Top each cup with a generous sprinkle of shredded cheddar cheese.
- Step 6: Final Bake: Return the muffin tin to the oven and bake for another 5-8 minutes, or until the cheese is melted and the edges of the wonton wrappers are golden brown and crispy.
- Step 7: Add Toppings: Once baked, remove the cups from the tin. Drizzle a spoonful of warm nacho cheese sauce over each cup. Garnish with a dollop of sour cream, diced tomatoes, green onions, and a jalapeño slice if you like a bit of heat.